
- All
- Product Name
- Product Keyword
- Product Model
- Product Summary
- Product Description
- Multi Field Search
English
Views: 289 Author: Young Mei Publish Time: 10-02-2026 Origin: Site


Content Menu
● Why Gel Application Is Different on Short Nails
● What You Need Before You Begin
● How to Apply Gel on Short Natural Nails
● How to Cap a Very Short Free Edge
>> When the Nail Is Bitten Down
● Choose the Right Service for the Nail
● Troubleshooting Lifting, Thick Tips, and Reactions
● Safe Wear and Removal Matter
● Designing Short-Nail Products for Real Users
>> Can you put gel polish on nails with no free edge?
>> Do you have to cap the free edge of short nails?
>> How many coats of gel polish work best on short nails?
>> Can I use any LED lamp to cure my gel?
>> Is builder gel necessary for short natural nails?
>> What if gel touches the skin before curing?
>> How do I remove gel without damaging short nails?
>> Are short gel nails suitable for healthcare workers?
Short nails can look polished without extensions. The challenge when you apply gel on short nails is controlling product at the tip: there may be almost no free edge to wrap, and the skin beneath the nail may sit close to the brush. This guide explains how to prepare short natural nails, seal an accessible edge, and adapt the application when there is no edge to cap. It also covers curing, removal, and when gel is not the right choice.
A tidy result depends less on adding extra product than on precise placement, thin layers, and complete curing. If you are working on bitten nails, cracked skin, or a client with a history of reactions, assess those conditions before opening the gel bottle.
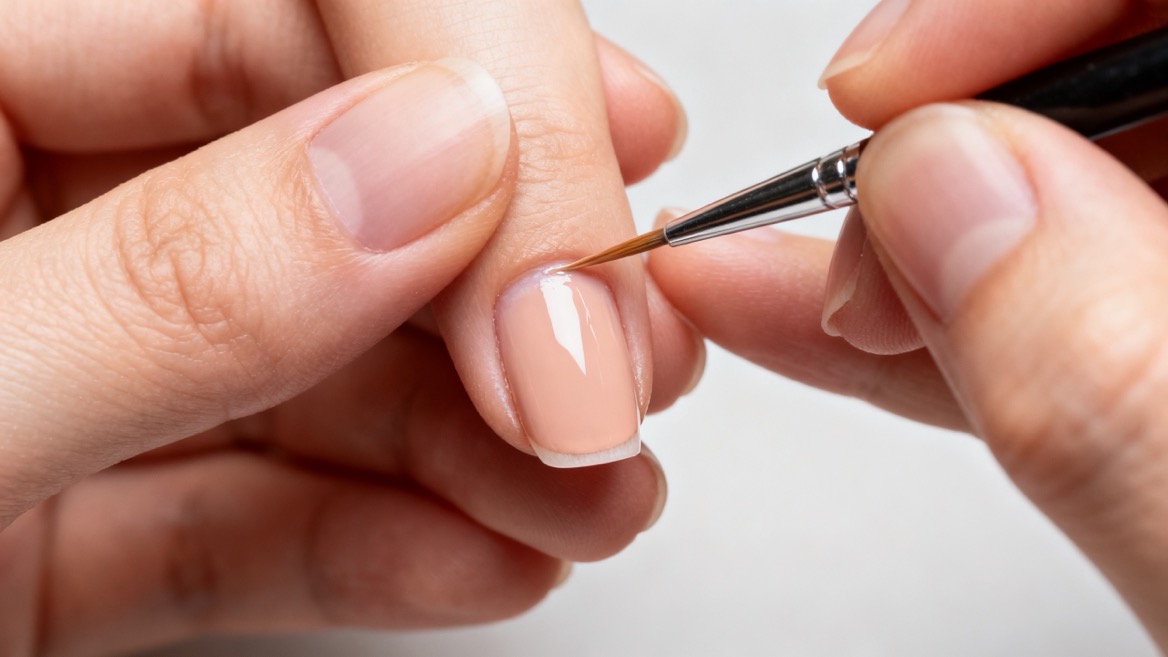
On a longer nail, a brush can pass lightly across the free edge without touching skin. On a very short nail, that edge may be flush with the fingertip. Trying to force a brush underneath can put uncured gel on the hyponychium—the living skin under the nail tip—or leave a thick ridge that catches and peels.
"Capping" means lightly coating the accessible tip to continue the finish around its edge. It is not an instruction to paint skin or build an artificial overhang. If there is no accessible edge, keep the gel on the nail plate and accept that a full wrap is impossible. A neat, fully cured application is preferable to an aggressive cap.
Short length alone does not call for builder gel. Gel polish supplies color; a compatible builder or structured overlay may add support when the natural nail needs it. That decision depends on nail condition, product instructions, and the technician's training—not simply on how little free edge is visible.
- A compatible base, color, and top-coat system, plus the lamp specified for those products.
- A fine-grit nail file, lint-free wipes, and the cleanser or prep products recommended by the gel manufacturer.
- A small detail brush or a well-drained bottle brush for controlled tip work.
- A clean, well-lit workstation and sanitized tools.
- A suitable remover and wraps if the chosen gel is specifically labeled soak-off.
Check compatibility first. Cure times vary by formula and lamp. For example, OPI specifies 30 seconds per layer in its Star Light lamp for one GelColor system, while Gelish gives different LED and UV times for its system. Neither timing should be copied onto an unrelated product.
Do not apply gel over broken skin, a painful nail, suspected infection, or significant unexplained changes to the nail. Ask about previous itching, swelling, or blisters after nail products. If a reaction is suspected, stop the service and recommend professional assessment rather than trying a different formula on the spot.
Avoid treating "HEMA-free" as an allergy clearance. That label describes one ingredient choice; it does not establish that every other ingredient is suitable for a sensitized person. A clinician can identify relevant allergens through appropriate testing. Never dab uncured gel onto skin as a home patch test.
The following workflow is for gel polish on healthy natural nails. Product-specific preparation, lamp placement, and cure instructions take priority over any general technique.
1. Shape without shortening aggressively. Smooth snags and keep the edge even. Do not file into the fingertip to manufacture space for a brush. If the nail has no free edge, leave it that way.
2. Prepare gently. Clean the nail and remove surface oil or debris using your system's directions. Avoid heavy buffing: thinning the natural nail does not improve a fragile nail's condition. Keep the cuticle barrier intact rather than cutting living tissue.
3. Place a thin base coat. Drain excess product from the brush. Leave a narrow, clean margin around the skin. If the tip is accessible, touch the brush lightly across it; if it is flush, stop at the nail's visible end. Cure for the manufacturer's stated time in the specified lamp.
4. Apply the first color coat. Use a small amount and pull it from near the base toward the tip in controlled strokes. Do not chase an opaque finish in one pass. Keep the sidewalls and fingertip clear, then cure as directed.
5. Apply a second thin color coat. Repeat the same placement. If a speck of uncured gel reaches skin, remove it completely before curing. Never cure a flooded sidewall and plan to file it off later.
6. Finish with top coat. Cover the colored surface without adding a bulky bead at the tip. Lightly seal an accessible edge if the product instructions call for it. Cure fully, then remove the inhibition layer only if that top coat requires cleansing.
7. Inspect and finish. Check the tip and sidewalls in good light. The coating should be smooth, not attached to skin, and not visibly pooled. Apply cuticle oil after the service, not immediately before adhesion-sensitive prep.
For a client with exceptionally small nails, working one or two nails at a time can make placement easier. Keep uncured hands away from accidental contact while you work. Thin does not mean under-cured: use the full manufacturer-specified cure for every layer and position the hand as instructed.
A practical adaptation of the original tutorial's "cap in reverse" idea is to use an almost dry detail brush at the tip before completing the face of the nail. Hold the finger steady, angle the brush toward the visible nail edge, and make a tiny, controlled pass across nail material only. Then apply the thin surface coat and cure according to the product directions.
The key limit is anatomical, not artistic. If the brush would hit living skin, do not attempt the pass. Use a precise surface application instead. Do not flip the finger into a position where uncured gel runs toward the fingertip; the point of the technique is control, not flooding.
The source tutorial also describes a "spill method" that extends gel onto a nail form before filing the excess. That may be a specialized sculpting approach for trained professionals, but it is not a default gel-polish technique for extremely short natural nails. It creates more opportunities for uncured product to touch skin and raises questions about product type, cure, and finishing. Do not substitute it for controlled application merely to create an artificial cap.
Bitten nails need a more conservative decision. Look for damaged skin, tenderness, and a nail edge that disappears into the fingertip. If the area is broken or inflamed, postpone the service. If the skin is intact but no edge is available, apply only to the visible nail plate and set expectations: there is no safe edge to wrap today.
For retail education, show two separate demonstrations—one short nail with a visible edge and one flush nail. This small distinction prevents a common mistake: repeating a free-edge instruction that the second person physically cannot follow.
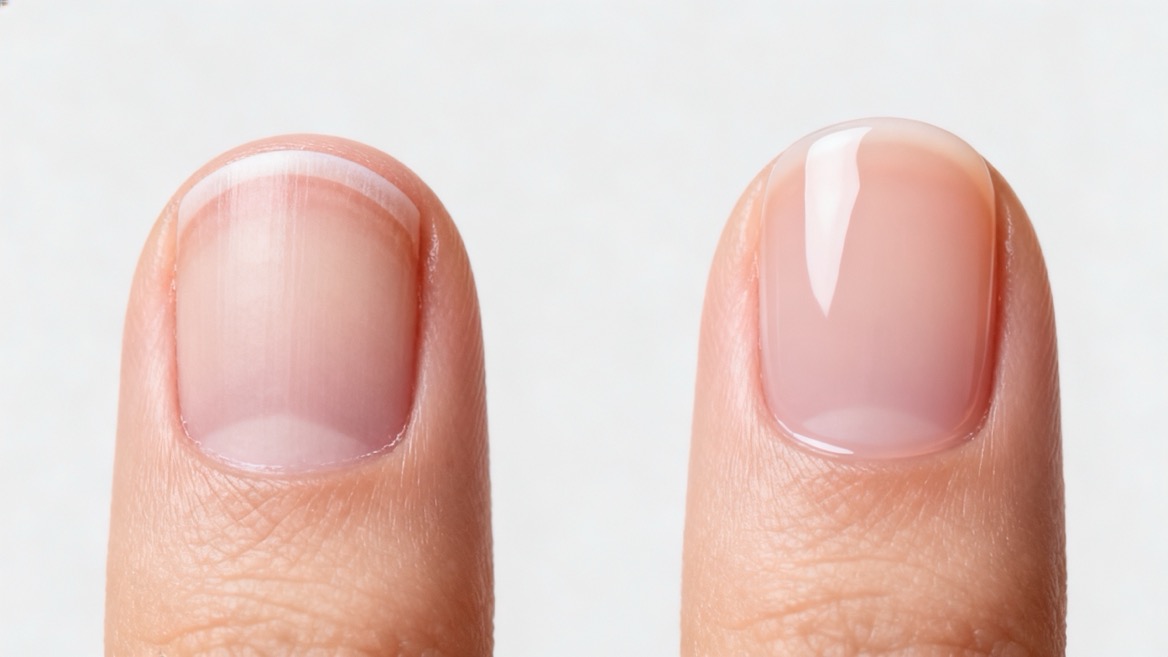
| Nail or customer situation | Better starting point | Main consideration |
|---|---|---|
| Healthy short nail with a visible tip | Thin gel-polish manicure | Seal the accessible edge without touching skin. |
| Healthy nail flush with the fingertip | Precise gel-polish application | Do not force a cap under the nail. |
| Flexible nail needing added support | Professionally selected structured overlay | Follow that builder system’s thickness, removal, and cure instructions. |
| Broken skin, pain, or suspected allergy | Postpone gel and seek appropriate advice | Do not cover a problem or test gel on skin. |
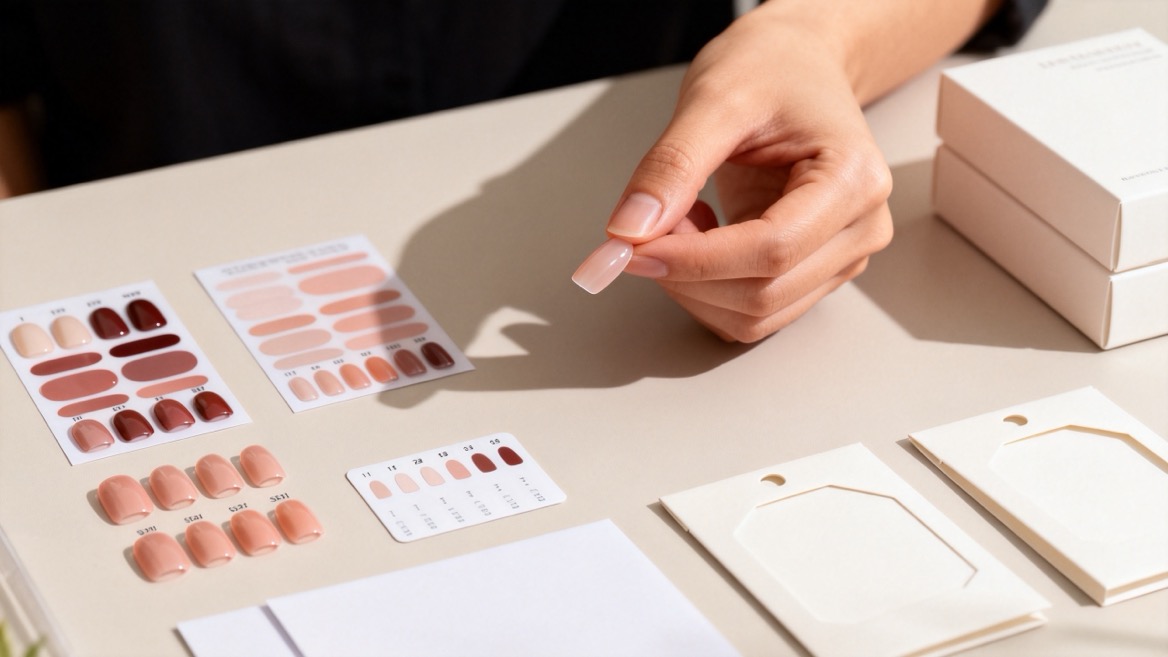
| Customer wants a short decorative look without a gel service | Appropriately sized press-on nails or nail stickers | Fit, adhesive choice, wear instructions, and workplace rules still matter. |
A press-on nail is a finished artificial nail, not gel polish painted directly onto a natural nail. Nail stickers and wraps are different again. Keep application and removal instructions separate for each product category; presenting them as interchangeable can confuse customers and increase misuse.
- Lifting near the tip: Check for skin contact, an overloaded cap, incomplete prep, or a product-and-lamp mismatch. Do not assume adding a thicker top coat will solve it.
- Peeling color: Confirm that each coat was thin and cured as directed. Avoid mixing systems unless the manufacturers specifically support the combination.
- Bulky or uneven edge: Use less product on the brush. If a flush nail has no edge to wrap, skip the cap rather than building a ridge.
- Staining or discoloration: Inspect the coating and the nail separately. Product wear, pigments, or other factors may be involved; do not describe a brown tip as "oxidation" without evidence.
- Itching, burning, swelling, or blisters: Stop exposure and seek medical advice. Do not keep applying gel to see whether the reaction settles.
For brand teams, these problems can become a useful quality-control checklist. Test each proposed base, color, top coat, and lamp combination together; document curing directions; assess how the formula behaves on short tips; and write customer instructions that explicitly say to avoid skin contact. This is a development recommendation, not a claim that any untested combination will perform safely.
Do not pick or peel the coating when it starts to lift. That can remove layers of the natural nail. For a soak-off system, follow the maker's removal protocol: Gelish, for example, describes breaking the top seal, wrapping the nails with remover, allowing 10–15 minutes, and gently clearing remaining material. If it does not release easily, do not scrape forcefully; check the product's instructions or consult a trained technician.
A hard gel or other non-soak-off product may require a different professional removal method. Never promise that all "gel" can be dissolved with acetone. After removal, moisturize the nails and surrounding skin; consider a break from repeated gel services if the nails have become brittle or are peeling.
Gel lamps also expose hands to ultraviolet light. Dermatologists advise applying broad-spectrum, water-resistant SPF 30 or higher sunscreen to the hands before a gel manicure, or using dark, opaque fingertip-free gloves. Keep any protective product off the nail plate during adhesion-sensitive preparation.
For healthcare workers, a short manicure is not automatically workplace-compliant. The CDC advises that natural nails should not extend past the fingertip and says not to wear artificial nails or extensions when directly caring for high-risk patients. Staff should follow their facility's specific rules on gel coatings and hand hygiene.
For buyers developing a short-nail assortment, application guidance should influence the product brief. Ask suppliers for clear ingredient documentation, matched curing instructions where relevant, accurate sizing, and product-specific removal guidance. Short-nail photography should show the edge and fingertip, not just the finished color from above.
At Dongguan YoungMei Technology Co., Ltd., we focus on developing and manufacturing press-on nails, nail stickers, and related nail products for brands, wholesalers, and chain retailers. With more than 15 years of experience, our own factory, and an established supply chain, we offer OEM/ODM customization, rapid sampling, and one-stop sourcing. These are company-supplied capabilities; request product specifications, samples, and quality documentation for your particular project rather than assuming one item's features apply to an entire range.
Planning a short-nail collection? Contact YoungMei with your target sizes, preferred shapes, artwork, packaging requirements, destination market, and estimated order quantity. Ask our team for relevant samples and a product-specific manufacturing proposal.
Yes, if the natural nail and surrounding skin are healthy and the product can be applied without touching skin. Coat the visible nail plate neatly. Do not force product beneath the fingertip to imitate a capped edge.
Cap an edge only when it is accessible without skin contact. Many product systems include capping in their standard instructions, but a flush nail may have no safe edge to wrap. Precision takes priority over a forced cap.
A common system uses one thin base coat, two thin color coats, and one thin top coat, with curing between layers. Follow the exact instructions for your chosen products; extra coats do not compensate for poor coverage or incomplete curing.
Do not assume so. Lamp compatibility and cure times depend on the product system. Follow the gel maker's approved lamp and timing guidance instead of borrowing a setting from another brand.
No. Healthy short nails may need only a standard gel-polish service. A structured overlay is a separate choice for particular nail conditions and should be applied and removed according to its own instructions.
Remove the uncured product completely before placing the hand in the lamp. If the skin is irritated or you have previously reacted to nail products, stop the service and seek appropriate professional advice.
Identify whether the formula is soak-off or non-soak-off. Follow its removal directions, avoid picking, and never force firmly attached product off the nail. Moisturize after removal.
That depends on the role and workplace policy. CDC guidance limits natural nail length and prohibits artificial nails or extensions for direct contact with high-risk patients. Ask the facility whether gel polish is permitted in your specific position.
1. Paola Ponce Nails. ["How To Apply Gel On Short Nails"]. Source tutorial for the free-edge problem, "cap in reverse," and "spill method"; those techniques are critically adapted here rather than reproduced verbatim. [paolaponcenails]
2. OPI. ["How to Apply Gel Nail Polish: GelColor Intelli-Gel System"]. Product-system example for thin coats, a clean perimeter, edge capping, and specified lamp cure. [opi]
3. Gelish. ["Gelish: Preparation, Application, Removal"]. Product-system example for preparation, LED/UV timing, and soak-off removal. [gelish]
4. DermNet. ["Allergy to Acrylates"]. Background on uncured acrylate exposure, contact allergy, skin symptoms, and patch testing. [dermnetnz]
5. American Academy of Dermatology. ["Gel Manicures: Tips for Healthy Nails"]. Dermatologist advice on nail care, ultraviolet protection, and removal. [aad]
6. Centers for Disease Control and Prevention. ["Clinical Safety: Hand Hygiene for Healthcare Workers"]. Guidance on natural nail length and artificial nails in high-risk patient care. [cdc]