
- All
- Product Name
- Product Keyword
- Product Model
- Product Summary
- Product Description
- Multi Field Search
English
Views: 231 Author: Young Mei Publish Time: 10-30-2026 Origin: Site


Content Menu
● How to Remove Press-On Nails: Choose Your Method First
● What You Need Before Removing Press-On Nails
● How to Remove Press-On Nails With Adhesive Tabs
>> Step 1: Start With the Product Instructions
>> Step 2: Soak When Recommended
>> Step 3: Check for Release Without Prying
>> Step 4: Remove Remaining Adhesive
● How to Remove Press-On Nails With Nail Glue
>> Step 1: Decide Whether Reuse Is Realistic
>> Step 2: Apply the Recommended Remover
>> Step 3: Allow the Bond to Soften
>> Step 4: Remove Softened Material Gently
● Can You Remove Press-On Nails Without Acetone?
● Why Press-On Nails Sometimes Feel Difficult to Remove
● How to Remove Nail Glue Residue Without Over-Filing
● Nail Care After Removing Press-On Nails
● When to Stop and Seek Professional Help
● A Manufacturer's Perspective: Better Removal Starts With Better Product Information
● Build a Better Press-On Nail Experience With YoungMei
● Frequently Asked Questions About Removing Press-On Nails
>> How long does it take to remove press-on nails?
>> Can warm water remove glued press-on nails?
>> Can I reuse press-on nails after removal?
>> Is acetone always bad for press-on nails?
>> Why do my natural nails feel thin afterward?
>> Should I pull off a press-on that is already lifting?
Knowing how to remove press-on nails safely starts with one question: did you apply them with adhesive tabs or liquid nail glue? That detail determines whether a gentle warm-water soak may help or whether you need a compatible nail adhesive remover.
The goal is not simply to remove the manicure. It is to protect your natural nails while preserving reusable tips when possible.
At Dongguan YoungMei Technology Co., Ltd., we bring more than 15 years of nail-product manufacturing experience to product development and supply. Our approach to removal guidance is straightforward: match the method to the adhesive, respect the product instructions, and never force a nail that remains firmly attached.
This guide explains the differences, the practical steps, and when to stop.
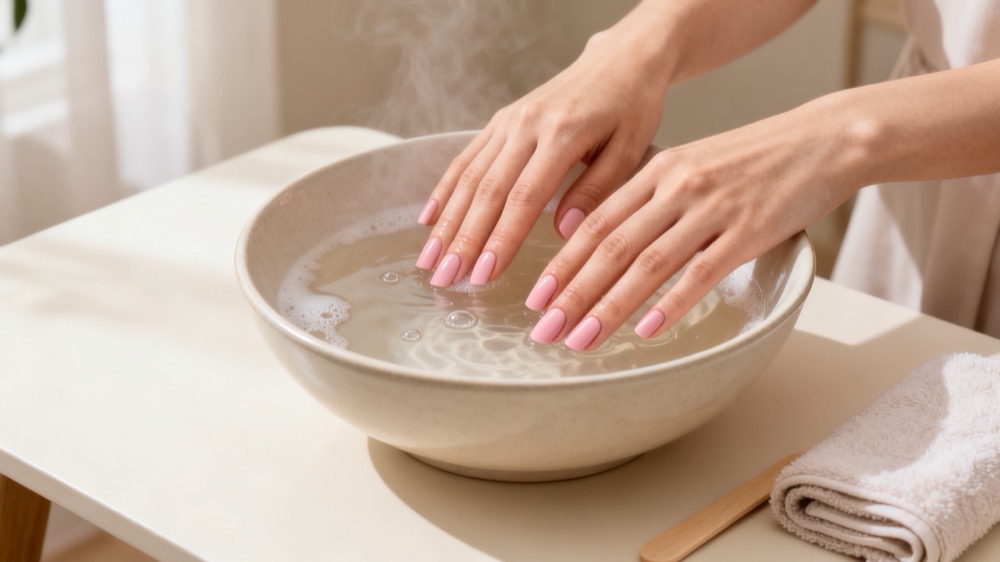
Press-on nails may look similar, but their attachment systems are not interchangeable. Separate adhesive tabs, pre-applied adhesive, and liquid glue can require different removal procedures.
Check the packaging, adhesive bottle, or original product listing before starting.
| Attachment system | Recommended starting point | Reuse consideration |
|---|---|---|
| Separate adhesive tabs | Follow the tab instructions; warm soapy water may help loosen suitable products | Reuse may be possible if the tips remain intact |
| Pre-applied adhesive | Follow the specific press-on system's removal directions | Reusability varies by product |
| Liquid nail glue | Use the recommended glue remover or acetone where instructed | Solvents may damage the tips or finish |
| Unknown adhesive | Identify the product before choosing a solvent | Do not assume the tips are solvent-resistant |
| Light-cured gel adhesive | Follow that system's professional removal guidance | Do not treat it as ordinary press-on glue |
Never force removal. If a tip resists, the bond has not released sufficiently.
Preserving your natural nail matters more than saving a decorative tip.
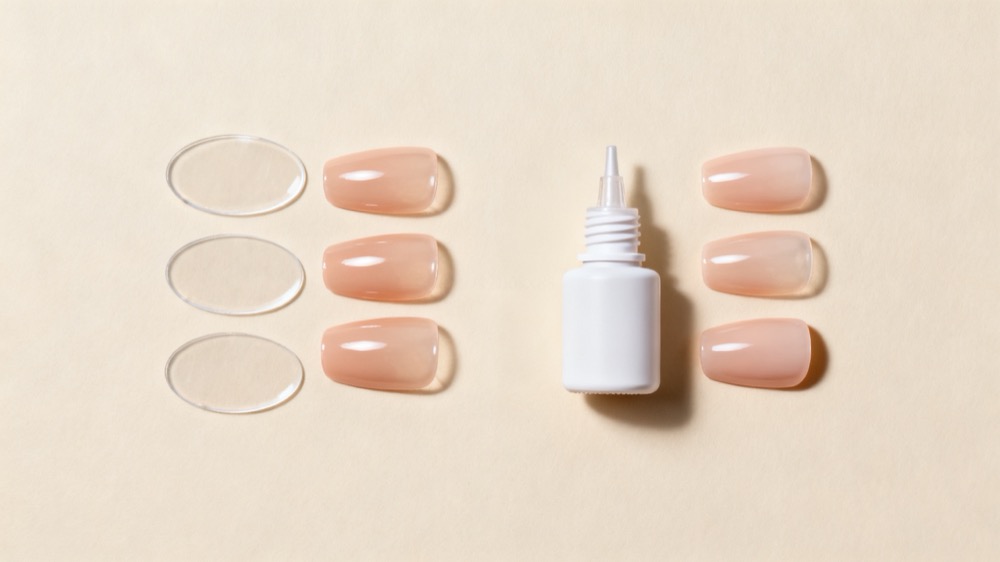
Prepare your supplies before beginning so you do not interrupt removal to search for tools.
Depending on the product instructions, you may need:
- A bowl of comfortably warm water.
- Mild liquid soap.
- A compatible nail adhesive remover.
- Acetone-based remover, if specified.
- A wooden manicure stick.
- A clean towel.
- Fragrance-free moisturizer or petroleum jelly.
- Cuticle oil, if your skin tolerates it.
Use solvents in a ventilated area, away from flames and heat. Never heat acetone or mix removers with household chemicals.
Keep fresh liquid nail glue away from cotton and wool. Cyanoacrylate glue can react with these materials and generate enough heat to cause burns. This warning concerns uncured glue; do not use cotton to wipe up a fresh spill.
If skin is already cracked, bleeding, swollen, or painful, pause before applying remover and seek appropriate advice.
Adhesive tabs are often selected for temporary wear. However, their release characteristics vary, and a method suitable for one product may not suit another.
Confirm whether the manufacturer recommends warm water, oil, a dedicated remover, or another method.
Do not assume that all adhesive-backed nails are reusable or that every set should be peeled off in the same way.
For products that permit warm-water removal, place your fingertips in comfortably warm, soapy water.
Give the adhesive time to loosen. There is no universal five-minute release time: adhesive formulation, wear conditions, and application can all affect the process.
Refresh the water if it becomes cold, but do not make it uncomfortably hot.
Look for an edge that has already loosened.
If the product instructions allow a manicure stick, use it gently at that released edge. Do not drive it beneath a firmly attached tip or lever against your natural nail.
If you feel resistance, stop and repeat the approved softening process.
Once the tip releases, gently remove softened tab residue according to the instructions.
If residue remains stubborn, do not scrape aggressively. Use the recommended remover instead.
Clean reusable tips only with a method compatible with their material and decoration.
Liquid nail glue can create a stronger bond than temporary tabs. Warm water may help around loosened edges, but it is not a dependable way to dissolve every cured glue.
Before choosing a remover, check whether the tip material and finish tolerate it.
Acetone may soften artificial nails or damage decorative coatings. Some dedicated removers can also affect finishes.
If the only approved removal method damages the tips, accept that trade-off. Do not pull them off to preserve the set.
Follow the adhesive or remover label for application, contact time, and repeat treatment.
Where acetone soaking is instructed, use a suitable container and limit unnecessary skin exposure.
Do not automatically clip or heavily file every press-on set. Some systems require preparation; others do not. Follow the specific instructions rather than copying a routine intended for acrylic extensions.
Give the remover the time specified on its label.
Avoid repeatedly bending the tip to "check" it. That movement can place stress on the natural nail before the adhesive has released.
A firmly attached nail needs further approved softening, not stronger pulling.
Remove only material that releases easily.
Do not use dental floss, sharp metal tools, or another nail to separate the bond. If substantial resistance remains, repeat the recommended process or seek professional assistance.
Sometimes. Acetone-free removal depends on the attachment system and the compatibility of the alternative remover.
For suitable adhesive-tab products, warm soapy water may be enough. For liquid glue, a dedicated adhesive remover may offer another option.
However, "acetone-free" does not automatically mean harmless, suitable for sensitive skin, or safe for reusable tips.
Check three things:
1. Does the remover work with your adhesive?
2. Is it compatible with the tip material and decoration?
3. What skin-contact precautions does its label specify?
Oil may help some adhesive-backed systems, but it should not be presented as a guaranteed solvent for every nail glue.
If your chosen method does not work, reassess the product combination rather than increasing pressure.
A manicure that releases unevenly can be frustrating. However, one stubborn nail does not necessarily mean the entire set is defective.
Different fingers may have different amounts of adhesive, wear, or edge lifting.
| What you notice | Possible explanation | Safer response |
|---|---|---|
| One tip stays firmly attached | Adhesive coverage or wear differs | Treat that nail separately |
| Warm water has little effect | The adhesive may need a compatible remover | Check the glue instructions |
| The natural nail bends during removal | The bond remains too strong | Stop pulling immediately |
| The decoration becomes dull or soft | The remover may be incompatible | Stop and review compatibility |
| Glue residue remains afterward | Adhesive has not fully softened | Repeat approved removal; avoid scraping |
A useful rule is to judge readiness by easy release, not by the clock.
Instructions promising identical removal times for every user overlook the differences between adhesive systems and application conditions.
After the tip comes off, a thin adhesive layer may remain.
It can be tempting to file until the surface looks completely smooth. The problem is that aggressive filing may remove natural nail along with the glue.
Instead:
- Use the adhesive-compatible remover as directed.
- Remove only softened residue.
- Avoid repeatedly scraping the same area.
- Do not continue buffing simply to eliminate every visible mark.
If you cannot tell whether a rough area is glue or damaged nail, stop rather than guessing.
Tenderness, peeling, or unusual flexibility are reasons to pause further cosmetic treatment—not reasons to buff harder.
Aftercare should be simple and gentle.
Wash away remaining product as instructed, dry your hands, and apply moisturizer to your nails and surrounding skin. Cuticle oil can be added if tolerated, but it is not a treatment for infection or an adhesive allergy.
Keep nails at a manageable length and smooth obvious snags carefully.
Avoid cutting cuticles or forcefully pushing them back. They help protect the surrounding area from infection.
Wear gloves for cleaning and prolonged dishwashing. Continue normal handwashing; preserving a manicure should not take priority over hygiene.
There is no universal waiting period suitable for every person.
If your nails and skin are comfortable and intact, follow the next product's directions. If they are thin, sore, peeling, or inflamed, leave them uncovered and allow time for recovery.
Moisturizer can improve dryness, but it cannot instantly restore nail layers lost through forceful removal.
Ordinary removal should not require pain, bleeding, or force.
Stop home removal and seek medical advice if you notice:
- Increasing pain, swelling, or warmth.
- Pus, bleeding, or an unpleasant odor.
- Persistent itching, blistering, or a spreading rash.
- Significant separation of the natural nail.
- Unexplained discoloration accompanied by other symptoms.
These signs can have different causes, including irritation, allergy, trauma, or infection. Appearance alone is not enough for a reliable diagnosis.
Do not cover a suspicious area with a fresh press-on nail. Bring the adhesive packaging or ingredient information when seeking advice.
If a nail remains attached without concerning symptoms, a qualified nail professional may help identify an appropriate removal method.
For brands, wholesalers, and retail chains, removal is part of the product experience—not an afterthought.
A beautifully designed set can still disappoint customers if its instructions fail to explain the adhesive or compatible remover.
At Dongguan YoungMei Technology Co., Ltd., our manufacturing perspective emphasizes matching the nail, attachment system, and care instructions as one product package.
Before approving a private-label range, buyers should clarify:
- Which adhesive is supplied or recommended?
- What removal method suits that adhesive?
- Is reuse supported for this specific product?
- Which removers may affect the finish?
- What warnings and aftercare instructions belong on the packaging?
A useful development step is to evaluate the complete wear-and-removal experience with the intended adhesive, not just inspect the tips.
Any claim about removal speed, durability, or reuse should reflect documented testing under clearly defined conditions rather than a broad promise.
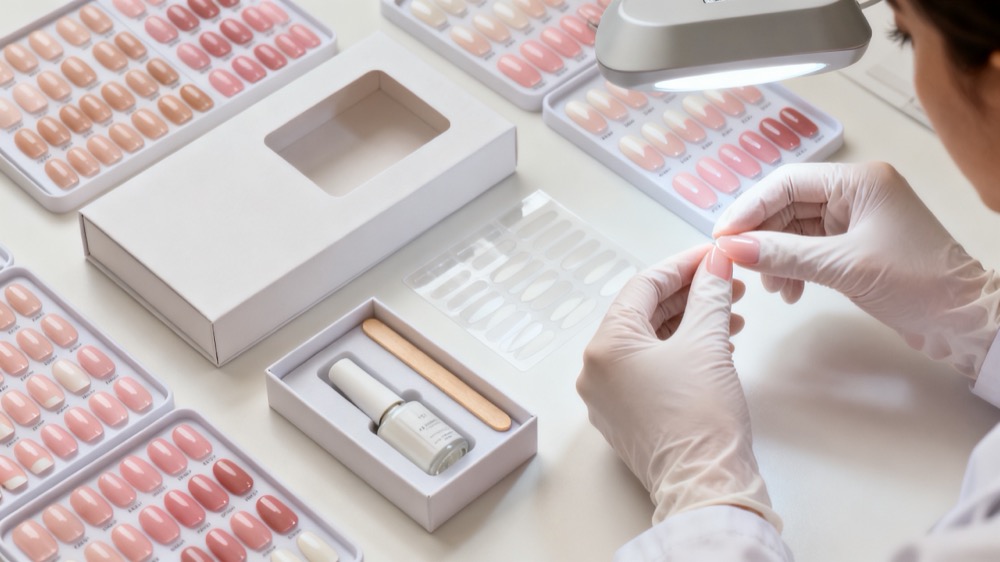
Good removal guidance helps customers understand the product they are wearing and avoid unnecessary force.
Dongguan YoungMei Technology Co., Ltd. develops and manufactures press-on nails, nail wraps, and related nail products for global brands, wholesalers, and chain retailers.
With our own factory and established supply chain, we offer OEM/ODM customization, rapid sampling, consistent-quality production, and one-stop sourcing.
Send us your target market, preferred nail styles, attachment requirements, and packaging needs to discuss a customized product brief and sampling plan.
There is no single reliable time for every set. Adhesive type, application, wear, and remover instructions affect the process. Follow the specified contact time and continue only when the nail releases easily.
Warm water may help some loosened edges, but it does not reliably dissolve every liquid nail glue. Check whether the adhesive requires a dedicated remover or acetone.
Possibly, if the product is intended for reuse and remains intact. Solvents may damage the tip or decoration. Follow cleaning and storage instructions, and do not share used sets.
No. Some manufacturers specifically recommend it for removing glued nails. However, it may dry surrounding skin and damage the artificial tips, making reuse impractical.
Forceful removal or excessive filing may have affected the nail surface. Other causes are possible. Stop further buffing, moisturize, and seek professional advice if discomfort or visible damage persists.
No. One edge may be loose while another remains strongly bonded. Follow the appropriate removal process rather than pulling across the attached area.
1. The Nailest. "Removing Press-On Nails Was Never So Easy." July 31, 2019. Its application advice, warm-water removal guidance, and discussion of preserving reusable tips. [Read the original article]. [thenailest]
2. American Academy of Dermatology Association. "Artificial nails: Dermatologists' tips for reducing nail damage." Supports discussion of filing-related thinning, artificial-nail removal, cuticle protection, and limiting repeated nail trauma. [Read the guidance]. [aad]
3. American Academy of Dermatology Association. "Manicure and pedicure safety." Supports moisturizing after remover use, avoiding cuticle trauma, not covering nail problems, and seeking advice for reactions. [Read the guidance]. [aad]
4. KISS. "KISS Icon Press-On Glue Nails—Vibrant." Product-specific instructions distinguish tab removal from glue removal, recommend compatible remover or acetone for the glued system, and warn against forcing nails off. These instructions are examples, not universal directions for every brand. [Read the product instructions]. [kissusa]
5. imPRESS / KISS. "imPRESS Color Press-On Nails—Over You." Product-specific instructions describe warm-water removal with soap or oil and advise against forced removal. [Read the product instructions]. [kissusa]
6. "Full-thickness Pediatric Burn following Reaction between Cyanoacrylate Nail Adhesive and Cotton Shirt." Published clinical case report documenting the heat-producing reaction between cyanoacrylate adhesive and cotton. [Read the case report]. [pmc.ncbi.nlm.nih]
7. American Academy of Dermatology Association. "11 dermatologists' tips for healthy nails." Supports gentle nail maintenance, avoiding cuticle damage, protective gloves, and moisturizing after handwashing. [Read the guidance]. [aad]