
- All
- Product Name
- Product Keyword
- Product Model
- Product Summary
- Product Description
- Multi Field Search
English
Views: 231 Author: Young Mei Publish Time: 11-20-2026 Origin: Site


Content Menu
● What Does "Re-Sealing" Natural Nails Actually Do?
● Check Your Nails Before You Apply Another Product
>> Dry Cuticles and an Itchy Rash Call for Different Responses
● A Simple Routine for Thin, Peeling Nails After Gel Removal
>> 1. Shorten the nails and smooth only the free edge
>> 2. Moisturize the nails and cuticles
>> 3. Take a polish break and monitor what grows in
● How to Prevent More Damage at Your Next Gel Removal
>> Find out whether the product is soak-off or file-off
>> Stop if the gel doesn't release easily
● Can You Wear Press-On Nails While Your Natural Nails Grow Out?
>> What brands and retailers should test before launch
● Your Next Step: Protect the Nail You Have
>> Can I repair damaged nails after gel removal overnight?
>> Should I use a nail hardener after removing gel polish?
>> Why are my nails white and rough after gel removal?
>> Does cuticle oil rebuild damaged nails?
>> When can I get another gel manicure?
>> Is it okay to leave a little gel polish to grow out?
If you're wondering how to repair damaged nails after gel removal, start by doing less: stop buffing the surface, shorten any edges that catch, and moisturize your nails and cuticles. Thin, peeling nails after gel polish removal don't need to be "re-sealed." A clear coat can change their appearance, but it cannot replace layers of nail that have already peeled away. The damaged area usually has to grow out. In the meantime, you can make your nails easier to live with and avoid turning a small split into a bigger one.
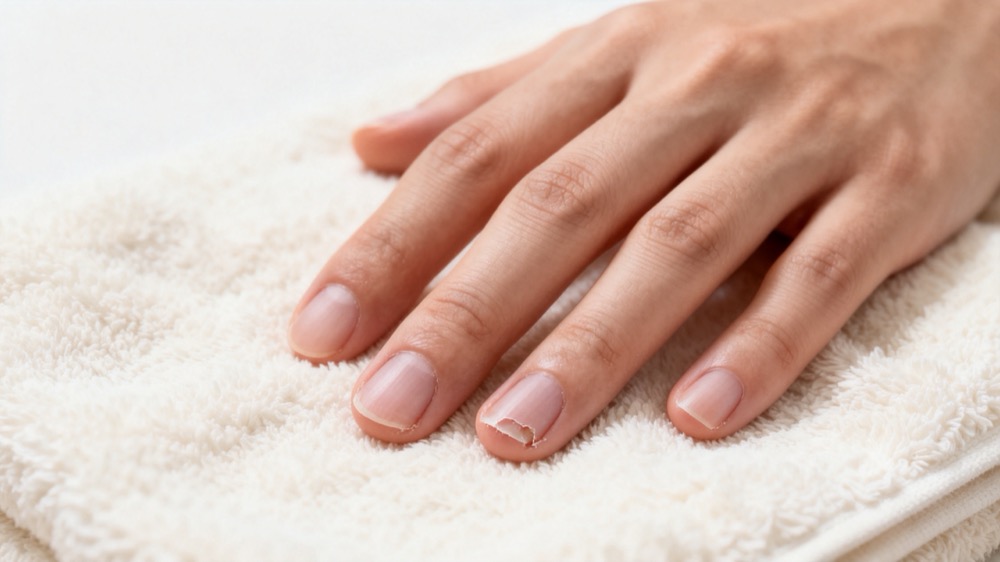
The nail plate is the hard, visible part of your nail. New nail forms at the base and pushes the existing plate forward. If peeling or aggressive filing removed part of that plate, buffing the area smooth does not put it back. A shiny finish tells you how the surface looks, not how much nail remains.
That distinction matters when you see streaks or shallow grooves after removing gel. You may be tempted to polish the surrounding surface until it matches the lowest spot. But if the nail is already bending or peeling, that trades more nail thickness for a more even appearance.
Instead, ask where the nail is catching. If a tiny corner at the tip snags on your sweater, smooth that corner. If the rough area is on the flat surface and isn't catching, leave it alone. A dull patch that grows out is easier to manage than a wider area you've buffed too thin.
Dryness, surface peeling, and nail lifting can look similar at first glance, particularly when all you notice is a white patch. Color alone isn't enough to tell them apart. Look at where the change starts, whether the nail is still attached, and how the surrounding skin feels.
| What you notice | What to do next |
|---|---|
| A rough or peeling tip, but the nail is still attached and the skin feels normal | Keep the nail short, smooth only the edge that catches, and moisturize. |
| A new white or yellow area that looks like a gap underneath the nail | Leave it uncovered. Don't scrape underneath it or try to glue it down. Get it checked if the nail is separating or the area is spreading. |
| Itching, redness, swelling, or a rash after gel polish or nail glue | Stop using the suspected product and avoid trying a new adhesive or gel until you've had the reaction assessed. |
| Increasing pain, pus, spreading redness, or rapidly worsening swelling | Seek medical care promptly rather than treating it as a manicure problem. |
Dry skin after acetone exposure isn't the same as an allergy. But recurring itching, swelling, or a rash after manicures is a reason to stop experimenting with products. Some gels and nail adhesives contain acrylates or related ingredients that can cause an allergic skin reaction. Reactions can also show up away from the nails, including on the eyelids.
Write down what you used and when symptoms started. Save the ingredient lists for the base coat, color, top coat, glue, and any remover involved. That gives a dermatologist something more useful to work with than a description of the manicure. Don't use another application as a test.
The free edge is the part of the nail that extends beyond the fingertip. Keep it short enough that it doesn't bend easily when you type, handle laundry, or pull a zipper. Use a fine file on a sharp corner or small snag at the edge. Don't pull off a peeling layer, and don't chase it across the nail with a buffer.
If the split extends into the attached part of the nail or hurts when you touch it, stop trimming into it. A painful split isn't the same as an uneven tip, and trying to file it away can make matters worse.
Apply a small amount of petroleum jelly to the nails and cuticles several times a day, especially after washing your hands or before bed. Moisturizing can help reduce brittleness and make dry skin more comfortable. It won't make a thin nail thicker overnight.
Leave the cuticles intact rather than pushing or cutting them back for a tidier finish. For dishes or other wet chores, wear gloves if practical. If several nails are peeling, pay attention to small everyday habits too: use a tool, not your thumbnail, to pry up a lid or scrape off a label.
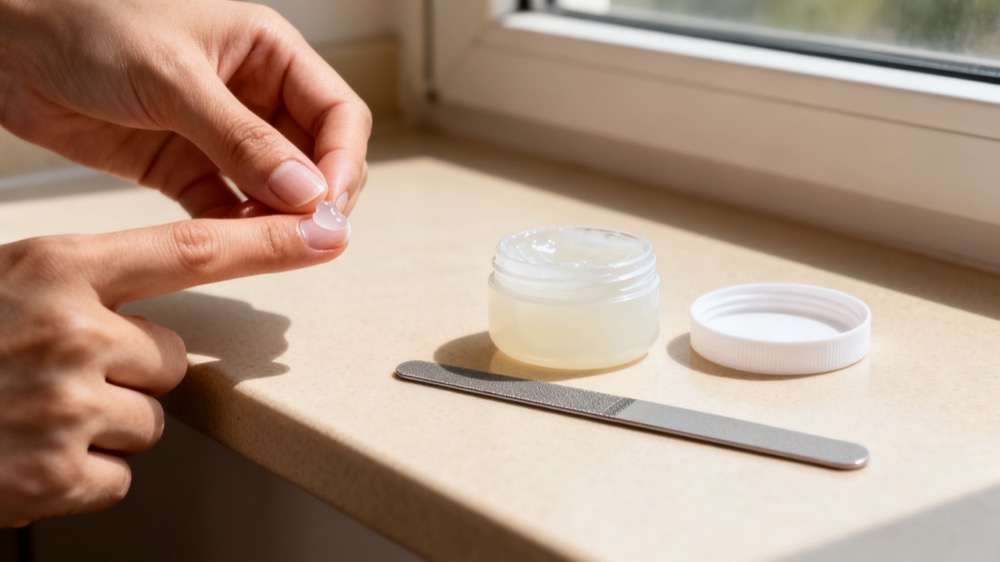
Start with one to two weeks without polish, or longer if the nails are still fragile. Think of this as a chance to observe them, not a deadline for complete recovery. Take a clear photo in daylight, then compare it with a photo from the same angle a week or two later.
A useful sign is that the rough patch moves closer to the tip while smoother nail appears at the base. Fingernails take about six months to grow out fully, but a small defect near the tip can be trimmed away much sooner. If the change spreads, new damage keeps appearing near the base, or the nail starts to lift, get it assessed rather than adding another coat.
Before taking off a manicure, identify what's on the nail. A salon can tell you what it applied; for a home kit, check the product label or instructions. The familiar acetone-wrap method is for soak-off gel polish. If you have a file-off enhancement or you can't identify the product, ask the salon or an experienced nail technician about removal rather than improvising with a coarse file.
If a corner lifts before your appointment, resist the urge to pull it. A lifted corner doesn't tell you how firmly the rest of the coating is attached. What feels like peeling off polish can also take part of the nail surface with it.
For a confirmed soak-off gel polish, protect the surrounding skin with a thin layer of petroleum jelly, then place nail-sized pieces of acetone-soaked cotton over the coating. A dermatologist's home method uses plastic food wrap to hold the cotton in place and checks it at about 10 minutes. The wrap should hold the cotton against the nail without constricting your finger. Follow the product's removal directions, and gently wipe away softened residue with a warm, damp washcloth. Wash with mild soap afterward and moisturize.
If the coating still resists gentle wiping, don't pry it up or scrape harder. Recheck the instructions or arrange professional removal. That decision matters more than whether you finish all ten nails in one sitting.
Press-ons can give intact nails a finished look without a curing lamp, but lamp-free doesn't mean risk-free. The adhesive still has to come off, and removal can put stress on a nail that already peels or bends. Adhesive tabs and liquid glue are different application options, not treatments for damaged nails.
Wait if the nail is tender, split into the attached area, or visibly lifting, or if the skin is irritated. If you suspect an allergy, don't switch from gel to glue or tabs on the assumption that the new product is safe for you. Once the nails and surrounding skin are intact and comfortable, choose a size that fits without forcing it down, and follow the exact removal instructions for that adhesive. If the press-on resists removal, don't lever it off.
At Dongguan YoungMei Technology Co., Ltd., we bring more than 15 years of nail product manufacturing experience to press-on nails, nail stickers, and related products. From a manufacturing perspective, one of the most useful questions in a sample review is: Can someone who has never used this kit tell when removal is complete and when to stop pulling?
For an OEM or ODM sample, we recommend reviewing the nail shape, adhesive, and instructions as one system. Check whether the size range lets users choose a tip that sits comfortably. Confirm that the directions match the adhesive actually packed in the kit. Then ask someone unfamiliar with the sample to follow the instructions and describe what they would do if a corner didn't release. That check can reveal an unclear removal step before it goes to print.
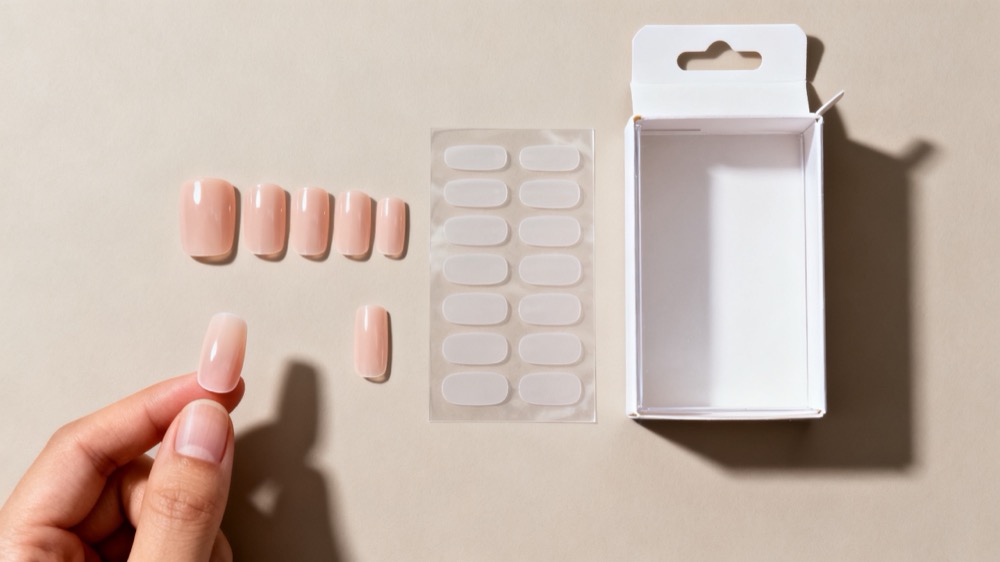
If you've just removed gel, start tonight: smooth the one edge that catches, moisturize, and leave the surface alone. If you're developing a press-on nail or nail sticker range, contact Dongguan YoungMei Technology Co., Ltd. with your target market, preferred adhesive format, and packaging requirements. Request an OEM/ODM sample with draft application and removal instructions so you can evaluate the full customer experience before approving production.
No. You can smooth a snag at the tip and moisturize dry cuticles that evening, but missing layers of the nail plate do not grow back overnight. Focus on keeping the damage from spreading as the nail grows.
It's optional, not a repair step. A clear strengthening polish may make an intact nail feel firmer while it's coated, but it won't restore lost thickness. If the nail is tender or lifting, or the skin is irritated, skip the coating rather than hiding the change.
A rough white patch can reflect changes at the surface after wearing or removing polish. A white area that looks like a gap beneath the nail is different: the nail may be separating from the nail bed, the tissue underneath it. Don't buff either one just to make the color match. Get it checked if it spreads, hurts, or looks detached.
No. Cuticle oil can moisturize dry skin and make the nail area feel more comfortable, but it cannot replace missing nail layers. Plain petroleum jelly is another option if you prefer a simple routine.
Use one to two weeks off polish as a starting point, not a countdown. Wait longer if the nails still split easily, feel sore, or show lifting. If gel or adhesive appears to have caused a rash, get the reaction assessed before trying either again.
If it remains attached and you have no pain, rash, or lifting of the natural nail, letting the polish grow out is an option. Trim the free edge as it grows. If the remaining coating catches repeatedly, ask a nail technician about removal instead of peeling it off.
1. Paola Ponce Nails. "How to Re-Seal Your Natural Nails After Gel Nail Removal Damage." Original nail technician demonstration; used to distinguish the cosmetic high-shine finish from recovery of a damaged nail. [Read the original article] [paolaponcenails]
2. American Academy of Dermatology. "Gel Manicures: Tips for Healthy Nails." Dermatologist guidance on manicure breaks, moisturizing, cuticle care, and avoiding picking. [Read the guidance] [aad]
3. American Academy of Dermatology. "Dermatologist's Secret for Removing Gel Nail Polish at Home." Shari Lipner, MD, PhD, FAAD, explains targeted acetone application, gentle removal, and fingernail grow-out time. [Read the removal guide] [aad]
4. DermNet. "Nail Cosmetics Allergy." Clinical overview of reactions to nail products and adhesives, including symptoms around the nails and at other sites. [Read the clinical overview] [dermnetnz]
5. DermNet. "Nail Terminology." Dermatology reference for nail plate changes, including separation from the nail bed. [Read the terminology guide] [dermnetnz]
6. Cleveland Clinic. "Are Acrylic Nails Bad for Your Nails and Skin?" Clinical context on nail plate damage from enhancement removal, moisturizing, and the limited role of strengthening polish. [Read the clinical explanation] [health.clevelandclinic]