
- All
- Product Name
- Product Keyword
- Product Model
- Product Summary
- Product Description
- Multi Field Search
English
Views: 268 Author: Young Mei Publish Time: 11-01-2026 Origin: Site


Content Menu
● What Are Dual Forms, and How Do They Work?
● Can You Use Any Builder Gel with Dual Forms?
>> Why Gel Consistency Matters
>> Soft Builder Gel Versus Hard Gel
● What You Need Before Starting
● How to Use Dual Forms with Builder Gel: Step by Step
>> 1. Assess the Natural Nails
>> 2. Prepare Without Overfiling
>> 3. Fit Every Dual Form Before Applying Gel
>> 4. Apply the Required Base System
>> 5. Distribute the Builder Gel
>> 6. Position the Form and Check for Overflow
>> 7. Cure According to the Exact System
>> 8. Remove the Form and Inspect the Extension
● Troubleshooting Common Dual-Form Problems
● Curing and Allergy: The Safety Checks That Matter
>> Do Not Treat "HEMA-Free" as an Allergy Guarantee
>> Consider UV Exposure and Removal Habits
● Is Builder Gel with Dual Forms a Budget-Friendly Choice?
● A Manufacturer's Checklist for Nail Brands and Retailers
● Turn Your Nail Collection into a Clear Product Brief
>> Can beginners use dual forms with builder gel?
>> Are dual forms faster than traditional sculpting forms?
>> Can I use a small flash-curing lamp for the entire service?
>> Why does builder gel leak out of the form?
>> How long will dual-form builder gel extensions last?
Using dual forms with builder gel can help create smooth nail extensions with less surface filing. However, a polished result depends on more than filling a plastic mold. Form fit, gel suitability, controlled placement, and correct curing all matter.
For beginners, the appeal is understandable: a shaped mold appears easier to manage than sculpting an extension entirely by hand. For nail professionals and beauty brands, the bigger question is whether the method delivers consistent results without introducing avoidable application problems.
This guide explains how to use builder gel with dual forms, what to check before starting, and how to troubleshoot common mistakes. It also addresses a practical concern raised by readers of the original tutorial: choosing a nail system when salon visits become harder to afford.
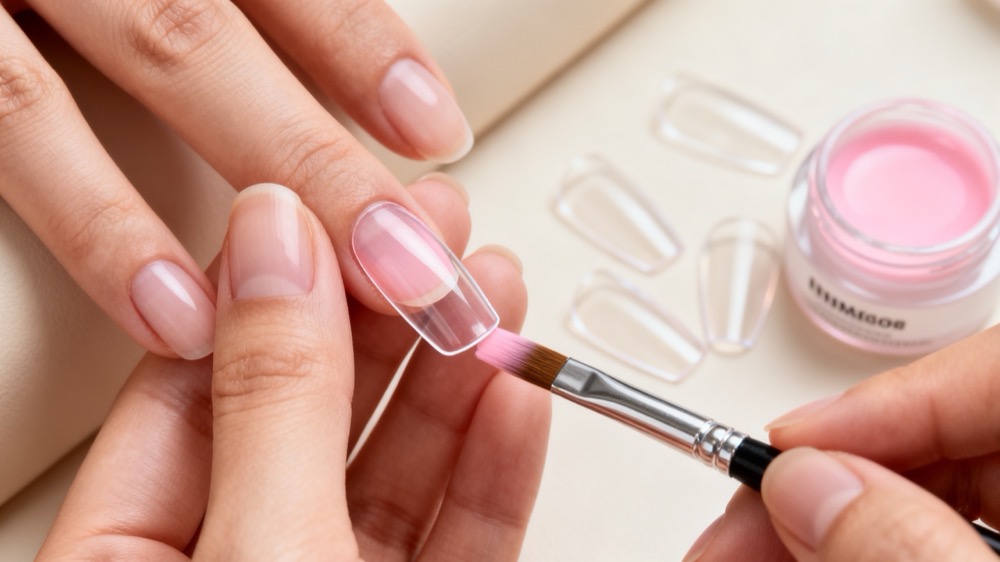
Dual forms are temporary molds that shape an enhancement from above. You place suitable enhancement material inside the form, position it over the prepared nail, cure according to the product instructions, and remove the mold.
The cured enhancement stays on the nail; the dual form does not.
That distinction separates dual forms from full-cover nail tips and finished press-on nails.
| Product or method | What stays on the nail? | Main consideration |
|---|---|---|
| Dual forms | The cured enhancement material | Mold fit, placement, and curing |
| Traditional sculpting forms | The enhancement built over a temporary support | Sculpting control and structure |
| Full-cover extension tips | The attached tip and bonding material | Tip fit and system compatibility |
| Finished press-on nails | The decorated artificial nail | Sizing, adhesive choice, and removal |
Dual forms can reduce finishing work, but they do not automatically produce a balanced extension. The mold must suit the natural nail, and the material underneath still needs appropriate distribution.
No. "Builder gel" describes a broad product category, not a guarantee of compatibility with every extension technique.
Before application, check whether the manufacturer permits the gel to create extensions and supports the intended molding method. Confirm the required preparation products, application thickness, lamp, and curing sequence.
A thicker builder gel can be easier to control inside a dual form because it moves more slowly. A highly fluid gel may spread toward the surrounding skin before placement is complete.
However, thicker does not automatically mean more suitable. A product must still cure properly at the applied thickness and provide the intended structure.
Choose compatibility before convenience.
Some builder gels are designed for soak-off removal; others require filing. Product names alone do not reliably establish the removal method.
Check the individual instructions before purchasing. Do not assume every soft gel supports extensions or every builder gel can be soaked away.
This matters for beginners because removal is part of the service—not an afterthought.
Prepare the complete system before opening the gel:
- Dual forms in appropriate sizes and curvatures.
- Builder gel approved for the intended application.
- Required base, primer, or preparation products.
- The manufacturer-recommended curing lamp.
- A suitable gel brush and lint-free wipes.
- Files and buffers specified for the system.
- A clean workspace with appropriate dust control.
- Compatible finishing products.
- Written application and removal instructions.
Avoid treating a shopping list as proof that unrelated products work together.
If you are unfamiliar with gel application, begin with structured instruction and practice on a training hand. Do not begin by building long extensions on yourself.
Check for pain, unusual discoloration, separation, damaged skin, or signs of irritation before applying an enhancement.
Do not cover a nail problem to improve its appearance. Artificial nails can conceal changes and may worsen existing problems.
Persistent or unexplained nail changes warrant assessment by a qualified healthcare professional.
Follow the gel system's preparation instructions. Keep the nail clean and remove surface shine only to the extent required.
Aggressive filing can thin the natural nail. More abrasion does not automatically mean better adhesion.
Avoid cutting or forcefully pushing back the living skin surrounding the nail. Dermatology guidance warns that disturbing the cuticle barrier can contribute to inflammation and infection.
Beginners should not use an electric file around this area without appropriate training.
Select the form for each nail individually.
It should cover the intended width without needing force to make it fit. Check the sidewalls, curvature, and alignment from above and from the side.
A form that looks correct from the top may still have an unsuitable curve.
Do not select sizes solely by printed numbers. If necessary, label your selected forms so you can work methodically.
Apply and cure the base layer exactly as instructed.
Do not substitute nail hardener, ordinary polish, or another brand's base simply because it appeared in a personal demonstration.
A technique that worked for one educator with particular products is not universal compatibility evidence.
Place the permitted amount of gel inside the form.
Aim for a controlled transition near the cuticle area and sufficient material through the structural portion of the extension. Avoid treating the entire mold as a container that must be filled evenly.
The apex—the raised structural area—must suit the finished nail's length and shape. One bead size cannot serve every nail.
For early practice, keep the intended extension short.
Lower the form carefully onto the nail. Use controlled pressure rather than squeezing it flat.
Check:
- Alignment with the finger.
- Coverage at both sidewalls.
- Visible gaps or bubbles.
- Gel escaping toward the skin.
- Excess material beneath the free edge.
Do not cure gel that has spread onto the skin. Remove the form and correct the application first.
Use the specified lamp, exposure time, application thickness, and hand position.
A brief flash cure may hold the form in place when the system permits it, but it does not replace the required full cure.
Do not apply a universal "60-second" rule to all gels. Likewise, a hard-feeling surface is not sufficient evidence that an unfamiliar combination has cured correctly.
If the product instructions do not address your intended application, ask the manufacturer before proceeding.
After completing the prescribed curing sequence, release the form gently.
Do not pry against the natural nail. If removal requires force, stop and reassess.
Inspect the enhancement from above, the side, and underneath. Check for incomplete coverage, distorted structure, sharp edges, and trapped spaces.
Refine the shape conservatively, following the system's finishing instructions. A smooth upper surface does not eliminate the need to inspect the underside.
| Problem | What to investigate | Practical response |
|---|---|---|
| Gel escapes around the edges | Excess material, unsuitable fit, or excessive pressure | Refit and reduce uncontrolled product displacement |
| Bubbles or gaps appear | Uneven placement or an unsuitable form curve | Recheck fit and placement before curing |
| Extension looks too flat | Form geometry or compressed gel distribution | Reassess the mold and intended structure |
| Enhancement feels bulky | Excess gel or poor underside control | Adjust product placement during practice |
| Lifting develops | Preparation, skin contact, compatibility, or wear-related stress | Review the entire system rather than adding more primer |
| Pain or strong burning occurs | Product thickness, curing conditions, or nail sensitivity | Stop exposure and follow professional guidance |
Do not solve repeated failures by continuously increasing curing time, filing more aggressively, or adding extra bonding products.
Change one controlled variable at a time during practice so you can identify what actually improves the result.
Uncured nail products can cause allergic sensitization when they contact the skin. Inadequate curing can also increase allergy risk.
This makes clean application and lamp compatibility essential—not optional refinements.
Removing one ingredient does not establish that a finished nail product cannot cause an allergic reaction.
Avoid using "allergy-safe" as a purchasing shortcut. Evaluate the full instructions, handling requirements, and manufacturer documentation instead.
If itching, swelling, blistering, or nail separation develops, stop using the suspected product and seek medical advice. Do not repeatedly reapply it to investigate the reaction yourself.
Dermatologists recommend protecting the hands with broad-spectrum, water-resistant SPF 30 or higher sunscreen or suitable opaque fingerless gloves during gel manicures.
Removal also matters. Do not peel or pry off an enhancement. Follow the product-specific method, and obtain professional help when you cannot remove it without damaging the natural nail.
It can be, but compare complete costs rather than the price of one gel container.
A reader of the original tutorial asked about builder gel, polygel, and acrylic because rising salon prices had made regular appointments difficult. That question highlights an important distinction: buying supplies is not the same as acquiring the skills to use them.
Include the following in your comparison:
1. Compatible products and lamp.
2. Training and practice time.
3. Consumables and product waste.
4. Maintenance and removal.
5. Replacement purchases after unsuitable choices.
Instead of buying several systems at once, learn one appropriate system thoroughly.
Finished press-on nails are another option to evaluate when the main goal is a coordinated decorative look rather than learning to sculpt extensions. They are a different product category, not a direct substitute for every professional enhancement service.
From our perspective at Dongguan YoungMei Technology Co., Ltd., product selection should connect appearance, fit, and clear user instructions.
Our company has more than 15 years of experience developing and manufacturing press-on nails, nail stickers, and related nail products. We support global brands, wholesalers, and chain retailers through our factory, supply chain, OEM/ODM customization, rapid sampling, and one-stop sourcing.
For a buyer building a nail collection, we recommend a written evaluation brief covering:
- Target customer and intended application.
- Nail sizes, shapes, and curvature.
- Decoration quality and finish consistency.
- Packaging protection and labeling.
- Application and removal instructions.
- Sample approval criteria.
- Product-specific documentation required for the destination market.
Do not assume a supplier's experience with finished nail products automatically establishes expertise in every gel chemistry or curing system.
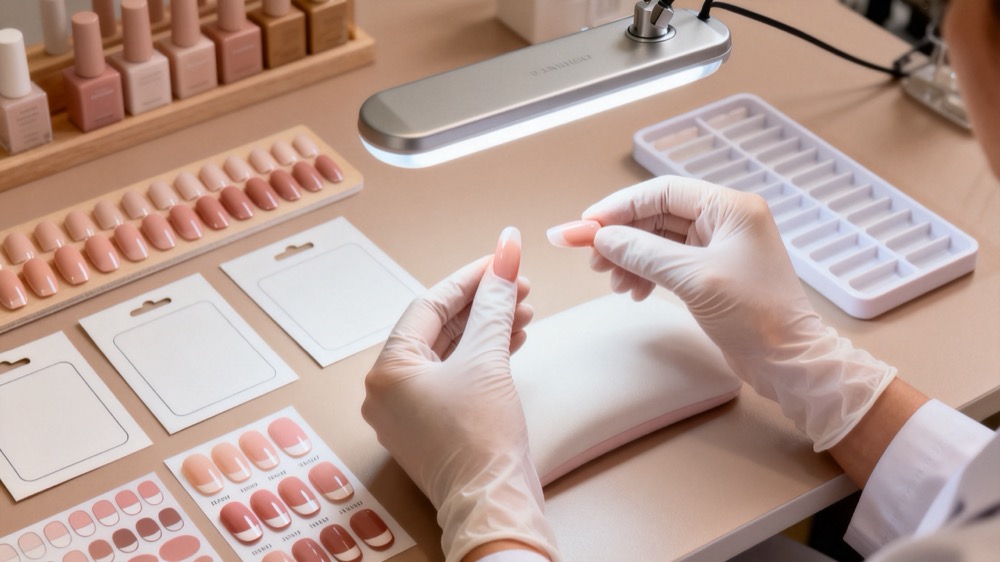
Planning a private-label press-on nail or nail-sticker collection?
Contact Dongguan YoungMei Technology Co., Ltd. with your target market, preferred shapes, design references, packaging requirements, estimated quantities, and launch schedule.
Request a sampling discussion and product-specific quotation. A clear brief helps align customization, quality expectations, and procurement decisions before production begins.
Beginners can learn the technique, but dual forms do not remove the need for training. Start on a practice hand, select a compatible system, and learn clean placement and correct curing before working on natural nails.
They may reduce surface filing when fit and placement are accurate. However, sizing, correcting overflow, and refining the underside can offset that saving. The original educator did not establish a reliable speed advantage.
Do not assume so. A flash lamp may hold the form temporarily if the instructions permit it. Complete the full curing sequence using the equipment specified for the gel system.
Some are marketed as reusable, but follow their care instructions. For professional services, reuse also depends on whether the item can be processed appropriately under applicable hygiene requirements. Discard damaged or unsuitable forms.
Common application factors include excess gel, a poorly fitting form, and too much pressure. Check the sides and underside before curing. Correct any skin contact immediately rather than curing the overflow.
There is no reliable universal wear period. Product selection, preparation, structure, nail condition, and daily activities all affect performance. Avoid promising a fixed duration without relevant wear testing.
1. Paola Ponce Nails. ["How To Dual Forms With Builder Gel | First Time Using DGel!"] Primary source for the demonstrated technique, the educator's experience with DGel and Leafgel, and the reader's question about affordable at-home nail systems. These are individual observations, not comparative performance testing. [paolaponcenails]
2. British Association of Dermatologists. ["Dermatologists reiterate artificial nails warning and risk of at-home kits."] April 14, 2023. Supports the discussion of uncured product contact, inadequate curing, allergy risk, and manufacturer-recommended lamps. [bad.org]
3. American Academy of Dermatology Association. ["Gel manicures: Tips for healthy nails."] Supports advice on cuticle protection, UV precautions, avoiding picking, and seeking assessment for persistent nail problems. [aad]
4. American Academy of Dermatology Association. ["Artificial nails: Dermatologists' tips for reducing nail damage."] Supports the discussion of filing-related damage, removal, and the risks of covering damaged nails. [aad]
5. American Academy of Dermatology Association. ["Manicure and pedicure safety."] Supports advice against using artificial nails to conceal nail problems and recommends medical consultation for reactions. [aad]